

120 Showcase feature guide
Start with a video or audio file
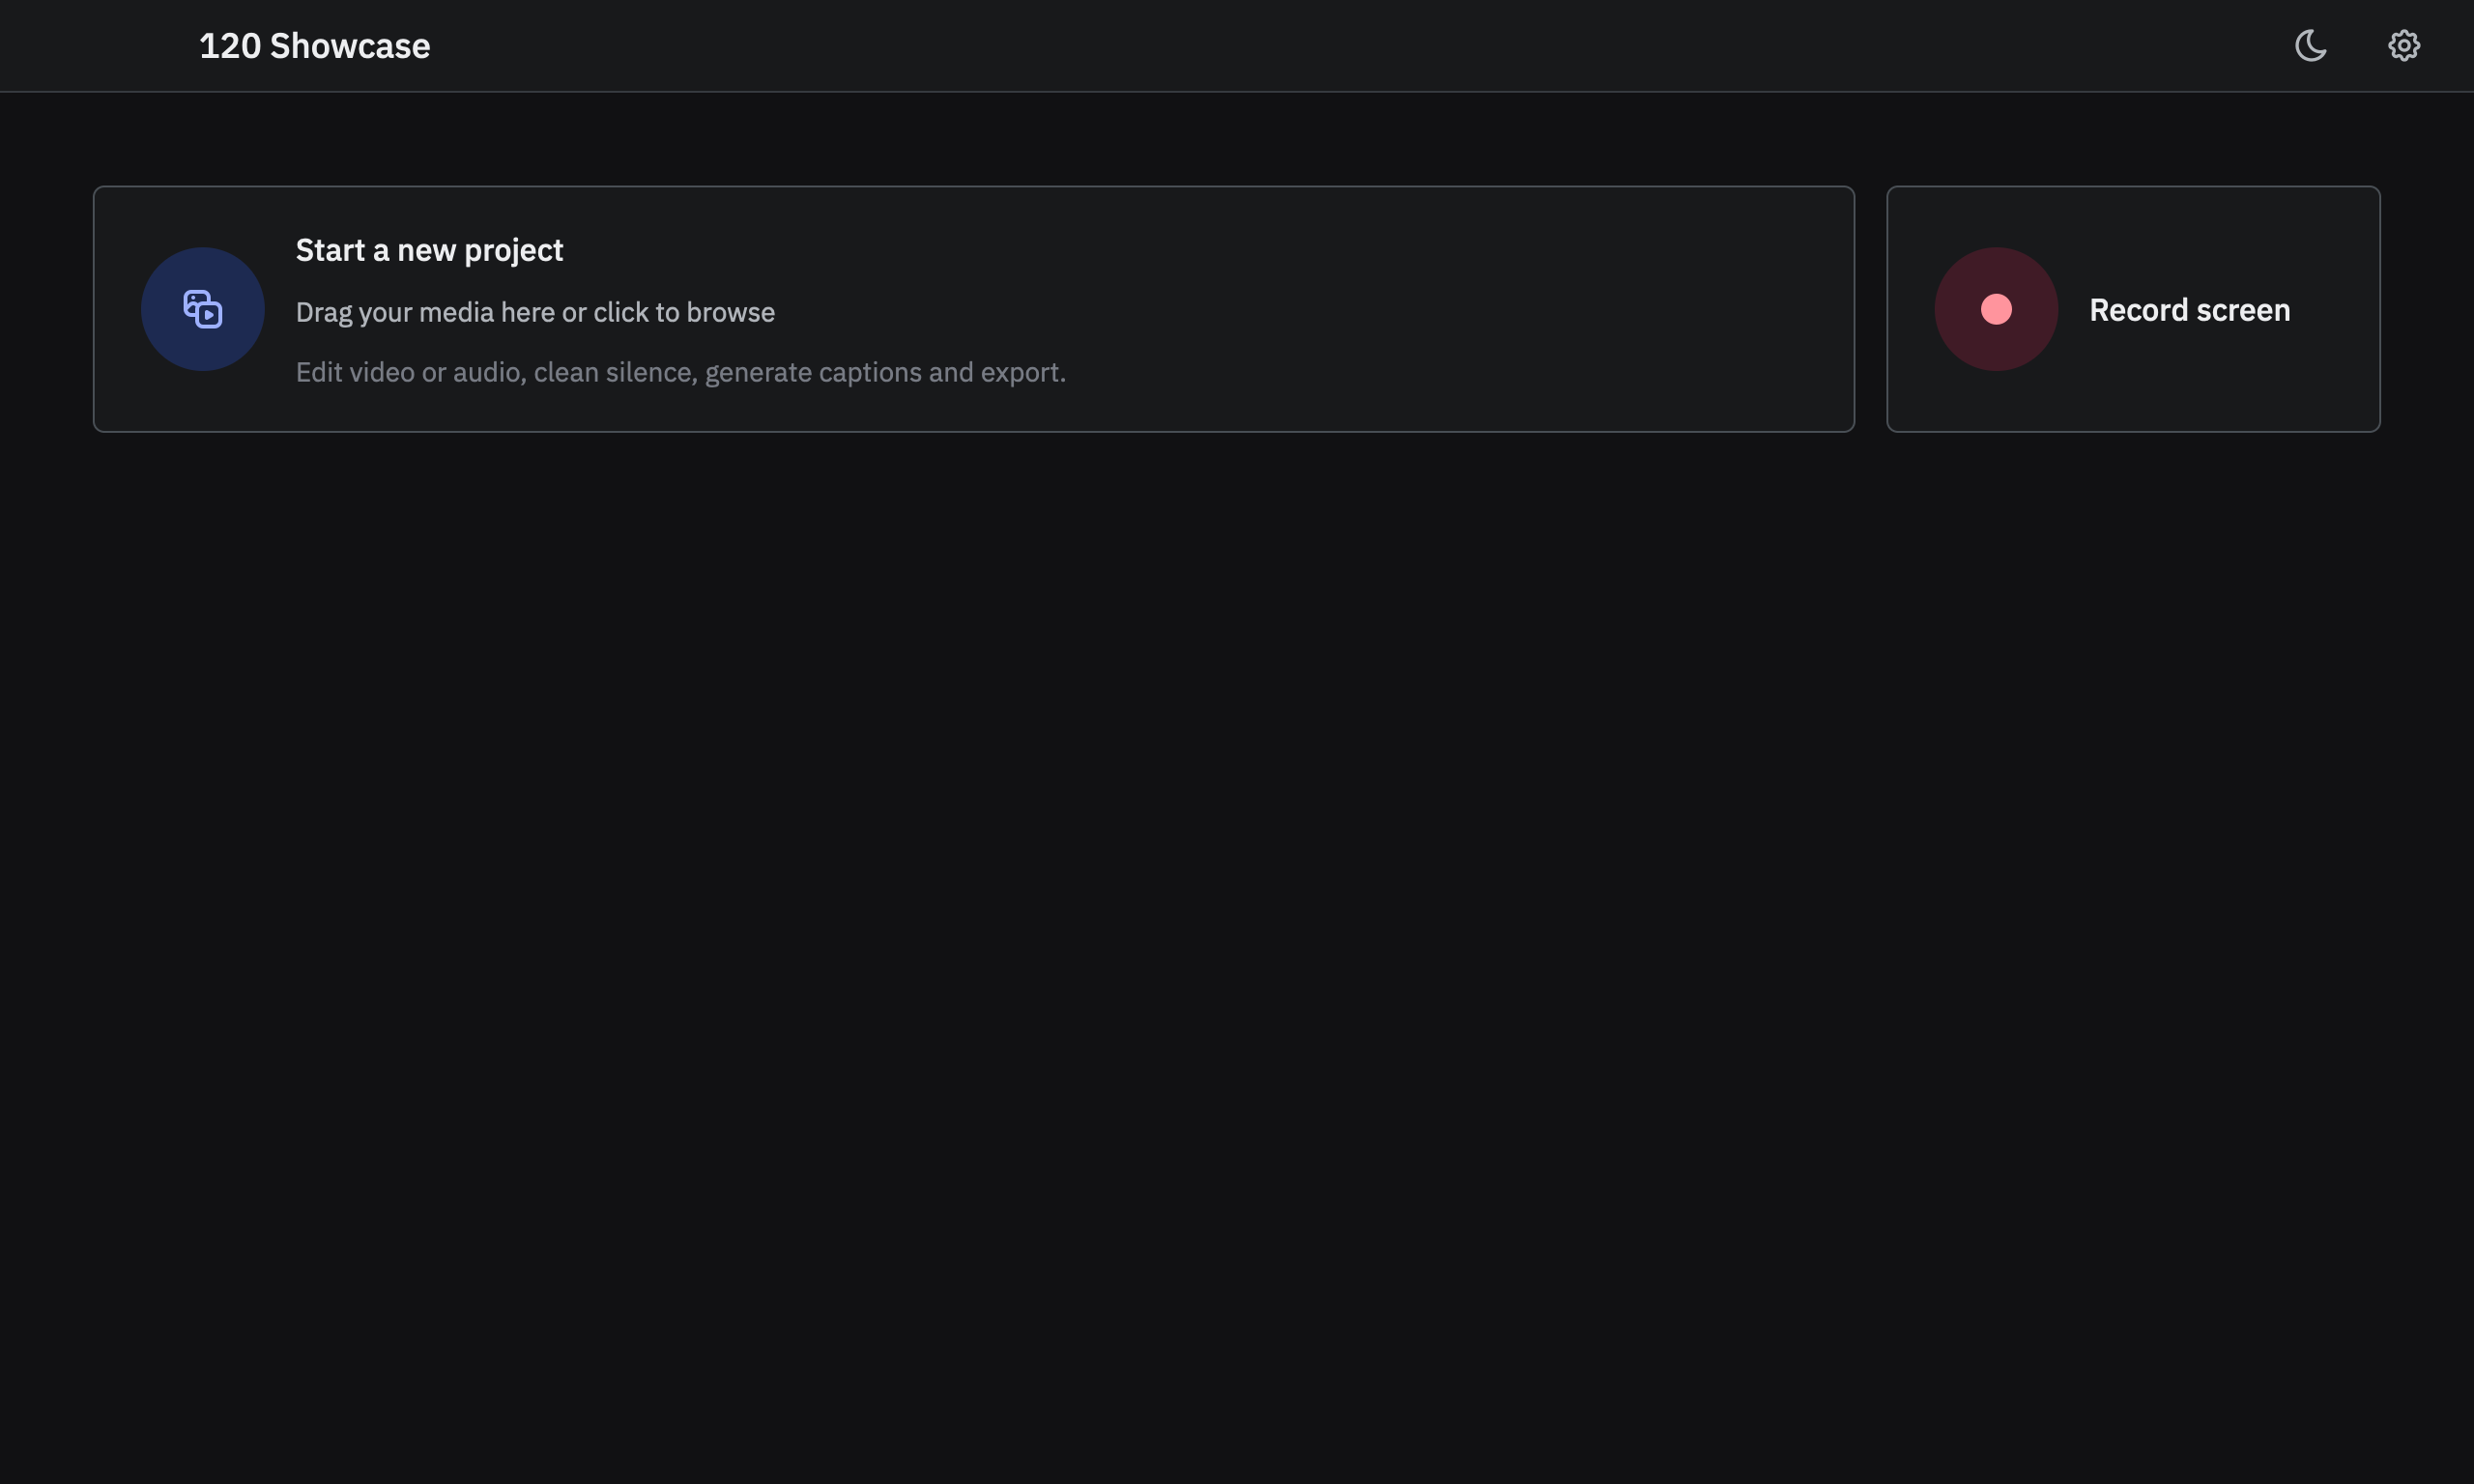
- Open 120 Showcase and select Start a new project. You can also drag a file onto that card.
- Choose your video or audio file. Showcase creates a project and opens the editor.
- To bring another file into the same project, select + above the media list, then Import files.
See supported formats for the files you can import.
Record a new video instead
- On the home screen, select Record screen.
- Use the source menu to choose a display, app window, selected area, or camera.
- Turn camera, microphone, and system audio on or off as needed. Allow macOS access when prompted.
- Select the red record button. When finished, stop the recording and open it in your project.

Camera video, microphone audio, and system audio can remain on separate synchronized tracks for editing.
Generate and check the transcript
- Select a video or recording in the media list on the left.
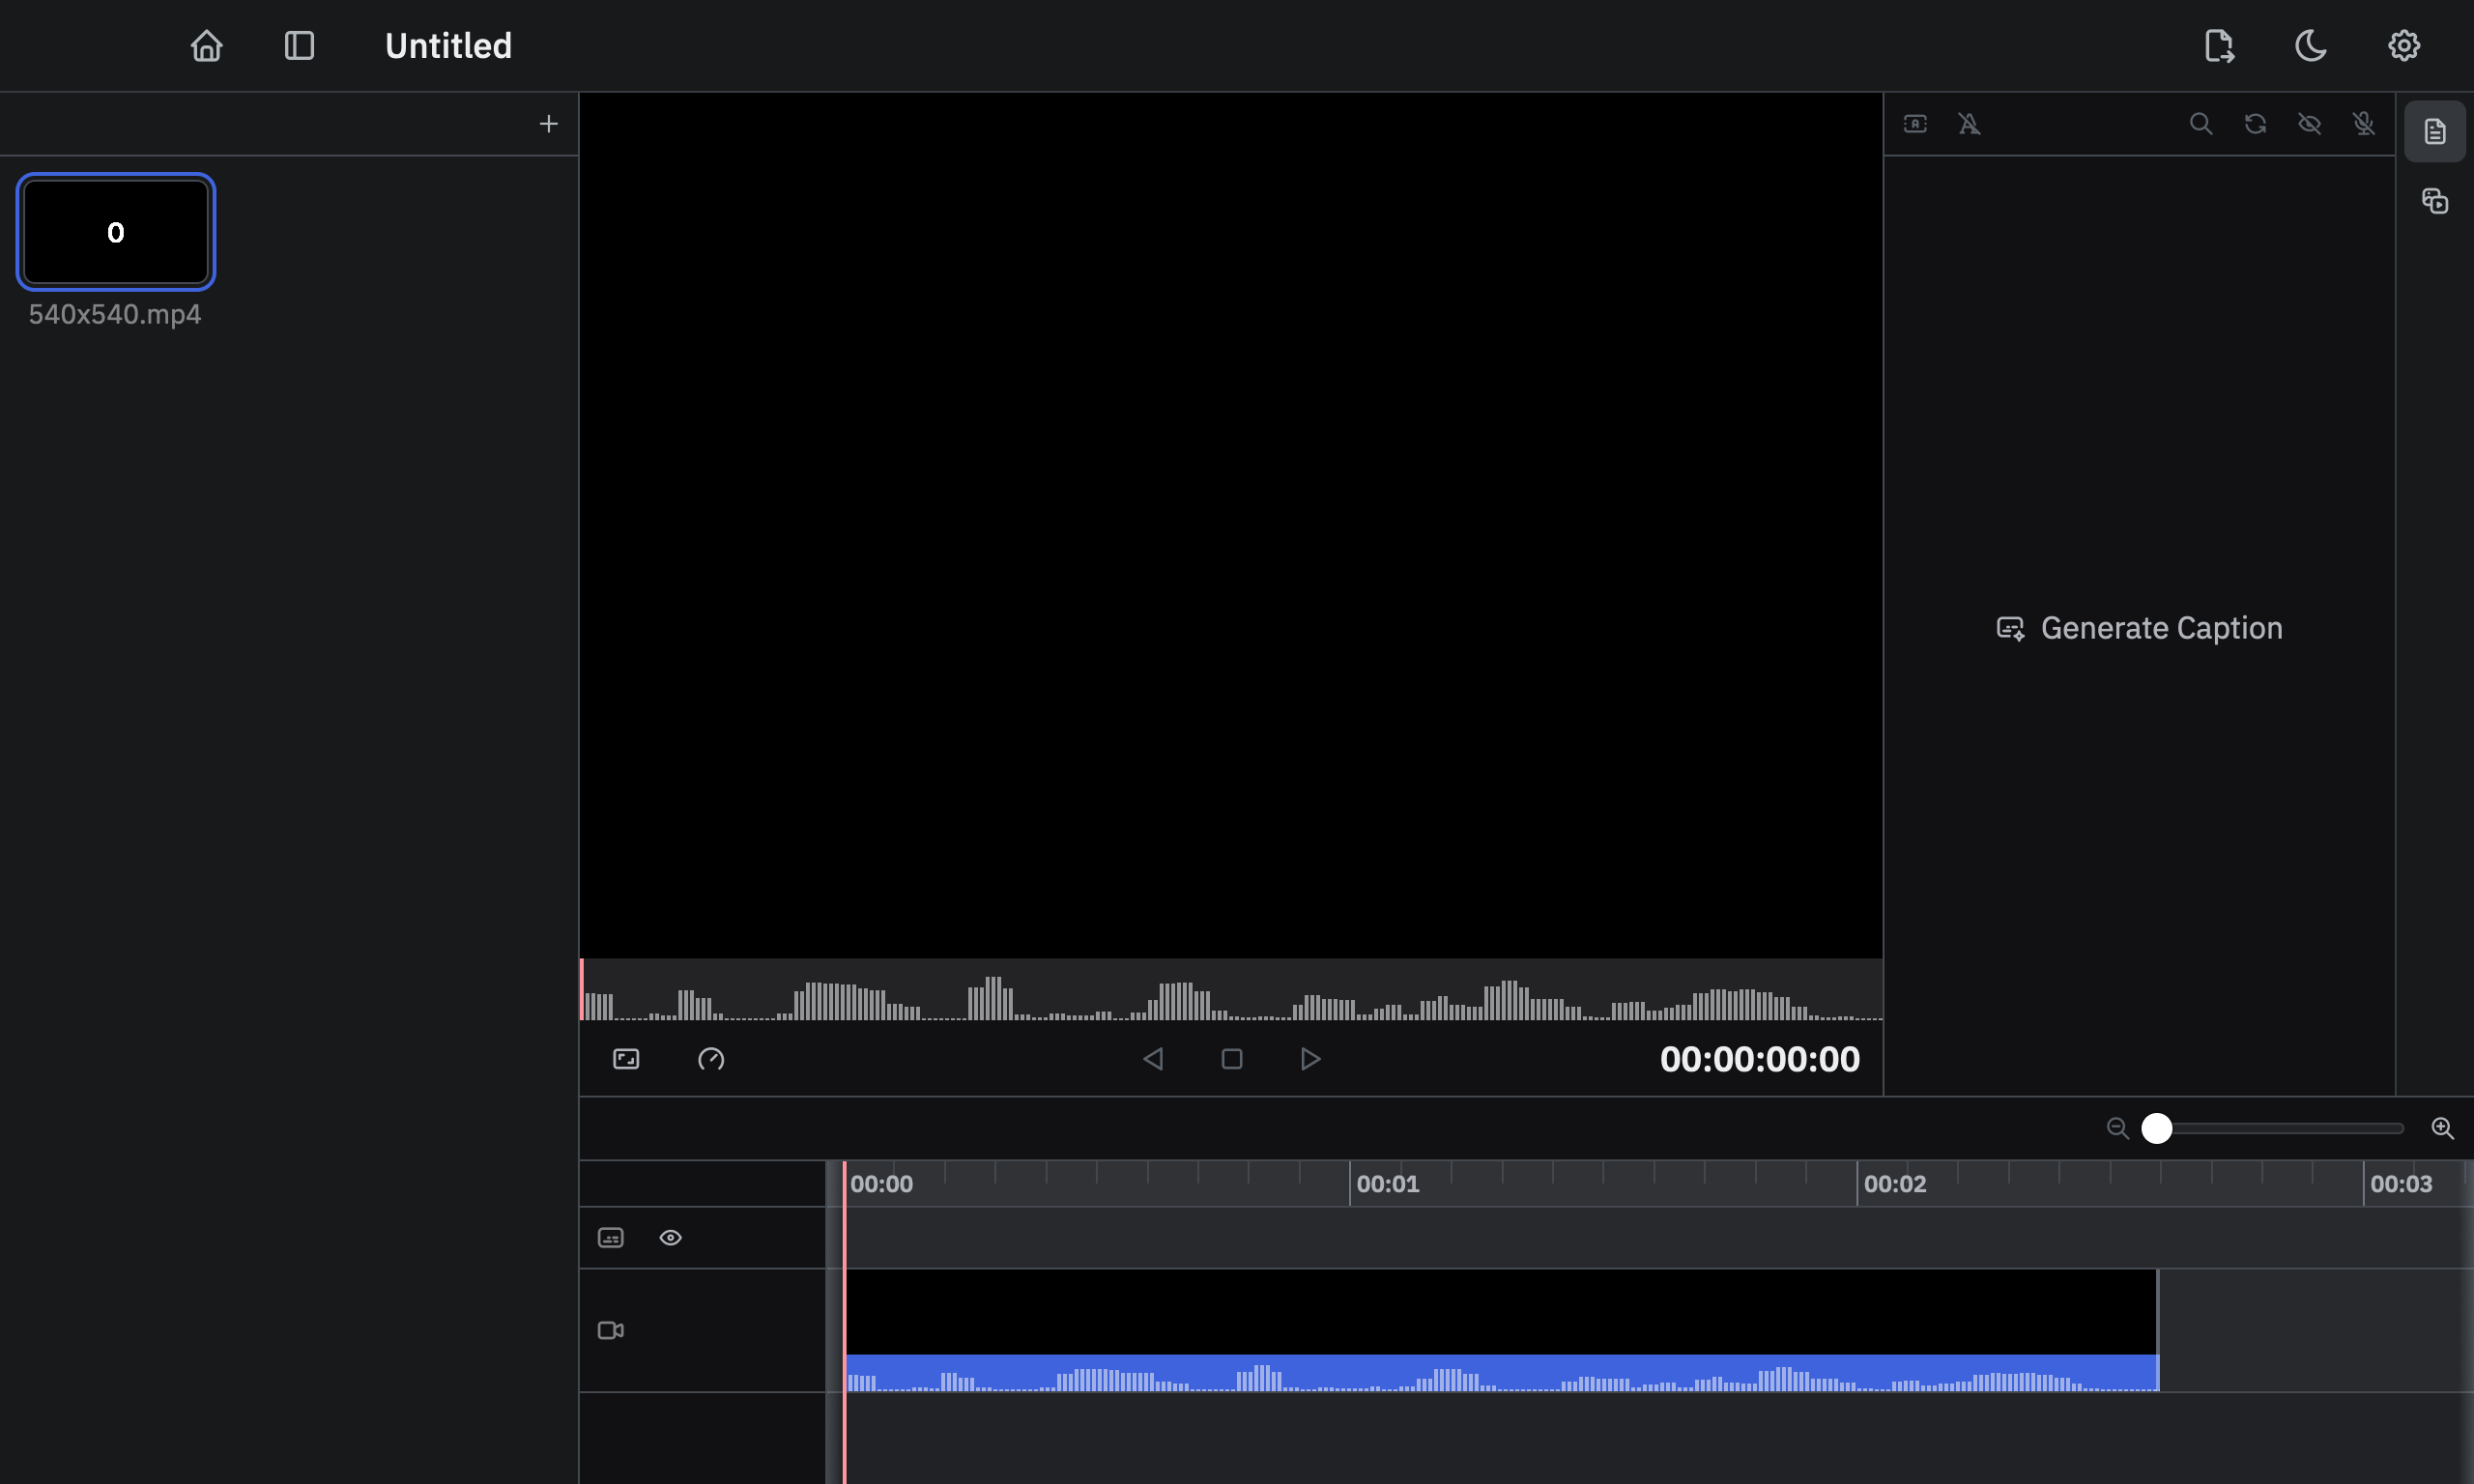
- In the transcript pane on the right, select Generate Caption and wait for the on-device speech model to finish.
- Play the video and read along with the transcript. Click in the text to correct any transcription mistakes before making cuts.
Cut words and silence
- Highlight the words you want to cut in the transcript.
- Right-click the selection and choose Remove selected sections. Showcase excludes the corresponding media from playback and export.
- To cut one pause, right-click its silence segment and choose Remove silence. To cut every detected pause, use Remove all silence in the transcript toolbar.
- Play across each cut. If needed, right-click an excluded section to restore it, or use Restore all silence for pauses.
To change how captions are grouped without cutting footage, right-click the text and choose Split caption or Merge captions.
Build a multicamera sequence
- Select + above the media list and choose Import files to add the camera recordings.
- Select + again and choose New sequence.
- Add each camera to its own timeline track. Right-click a clip on a single-clip track and choose Sync multi-cam to align it with the sequence audio.
- Play the sequence, choose the angle you want at each point, and fine-tune clip boundaries on the timeline.
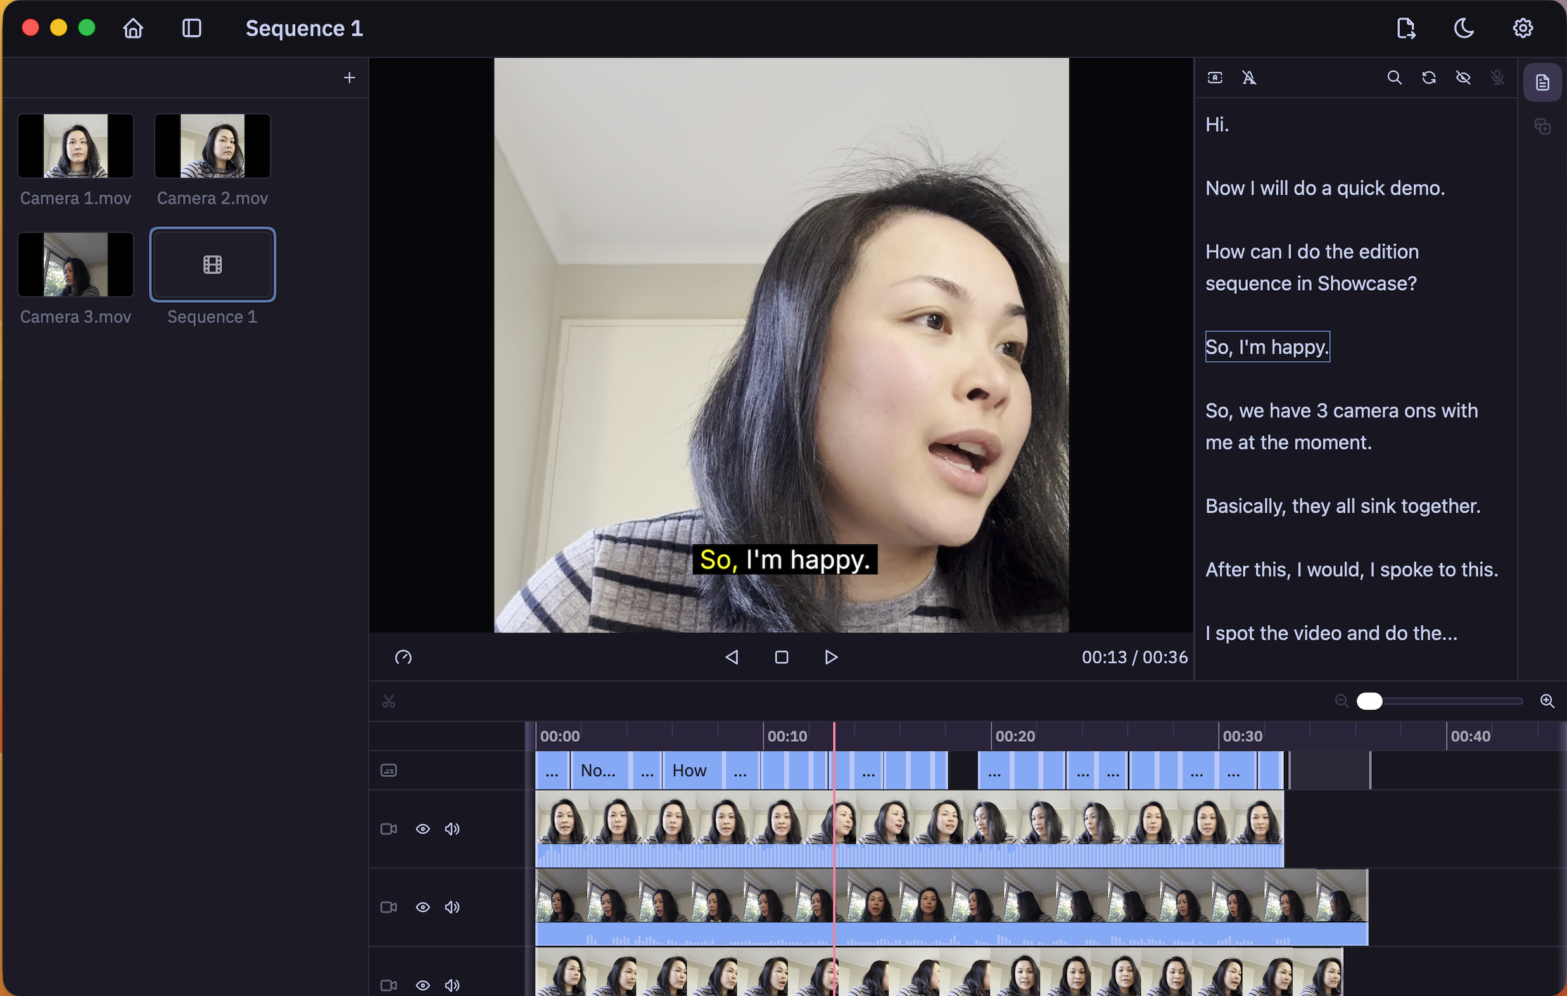
The media list is on the left, preview in the centre, transcript on the right, and timeline below.
Style captions and video
- Open the caption style controls from the transcript pane. Choose a font, colour, background, or animation, then check the result in the preview.
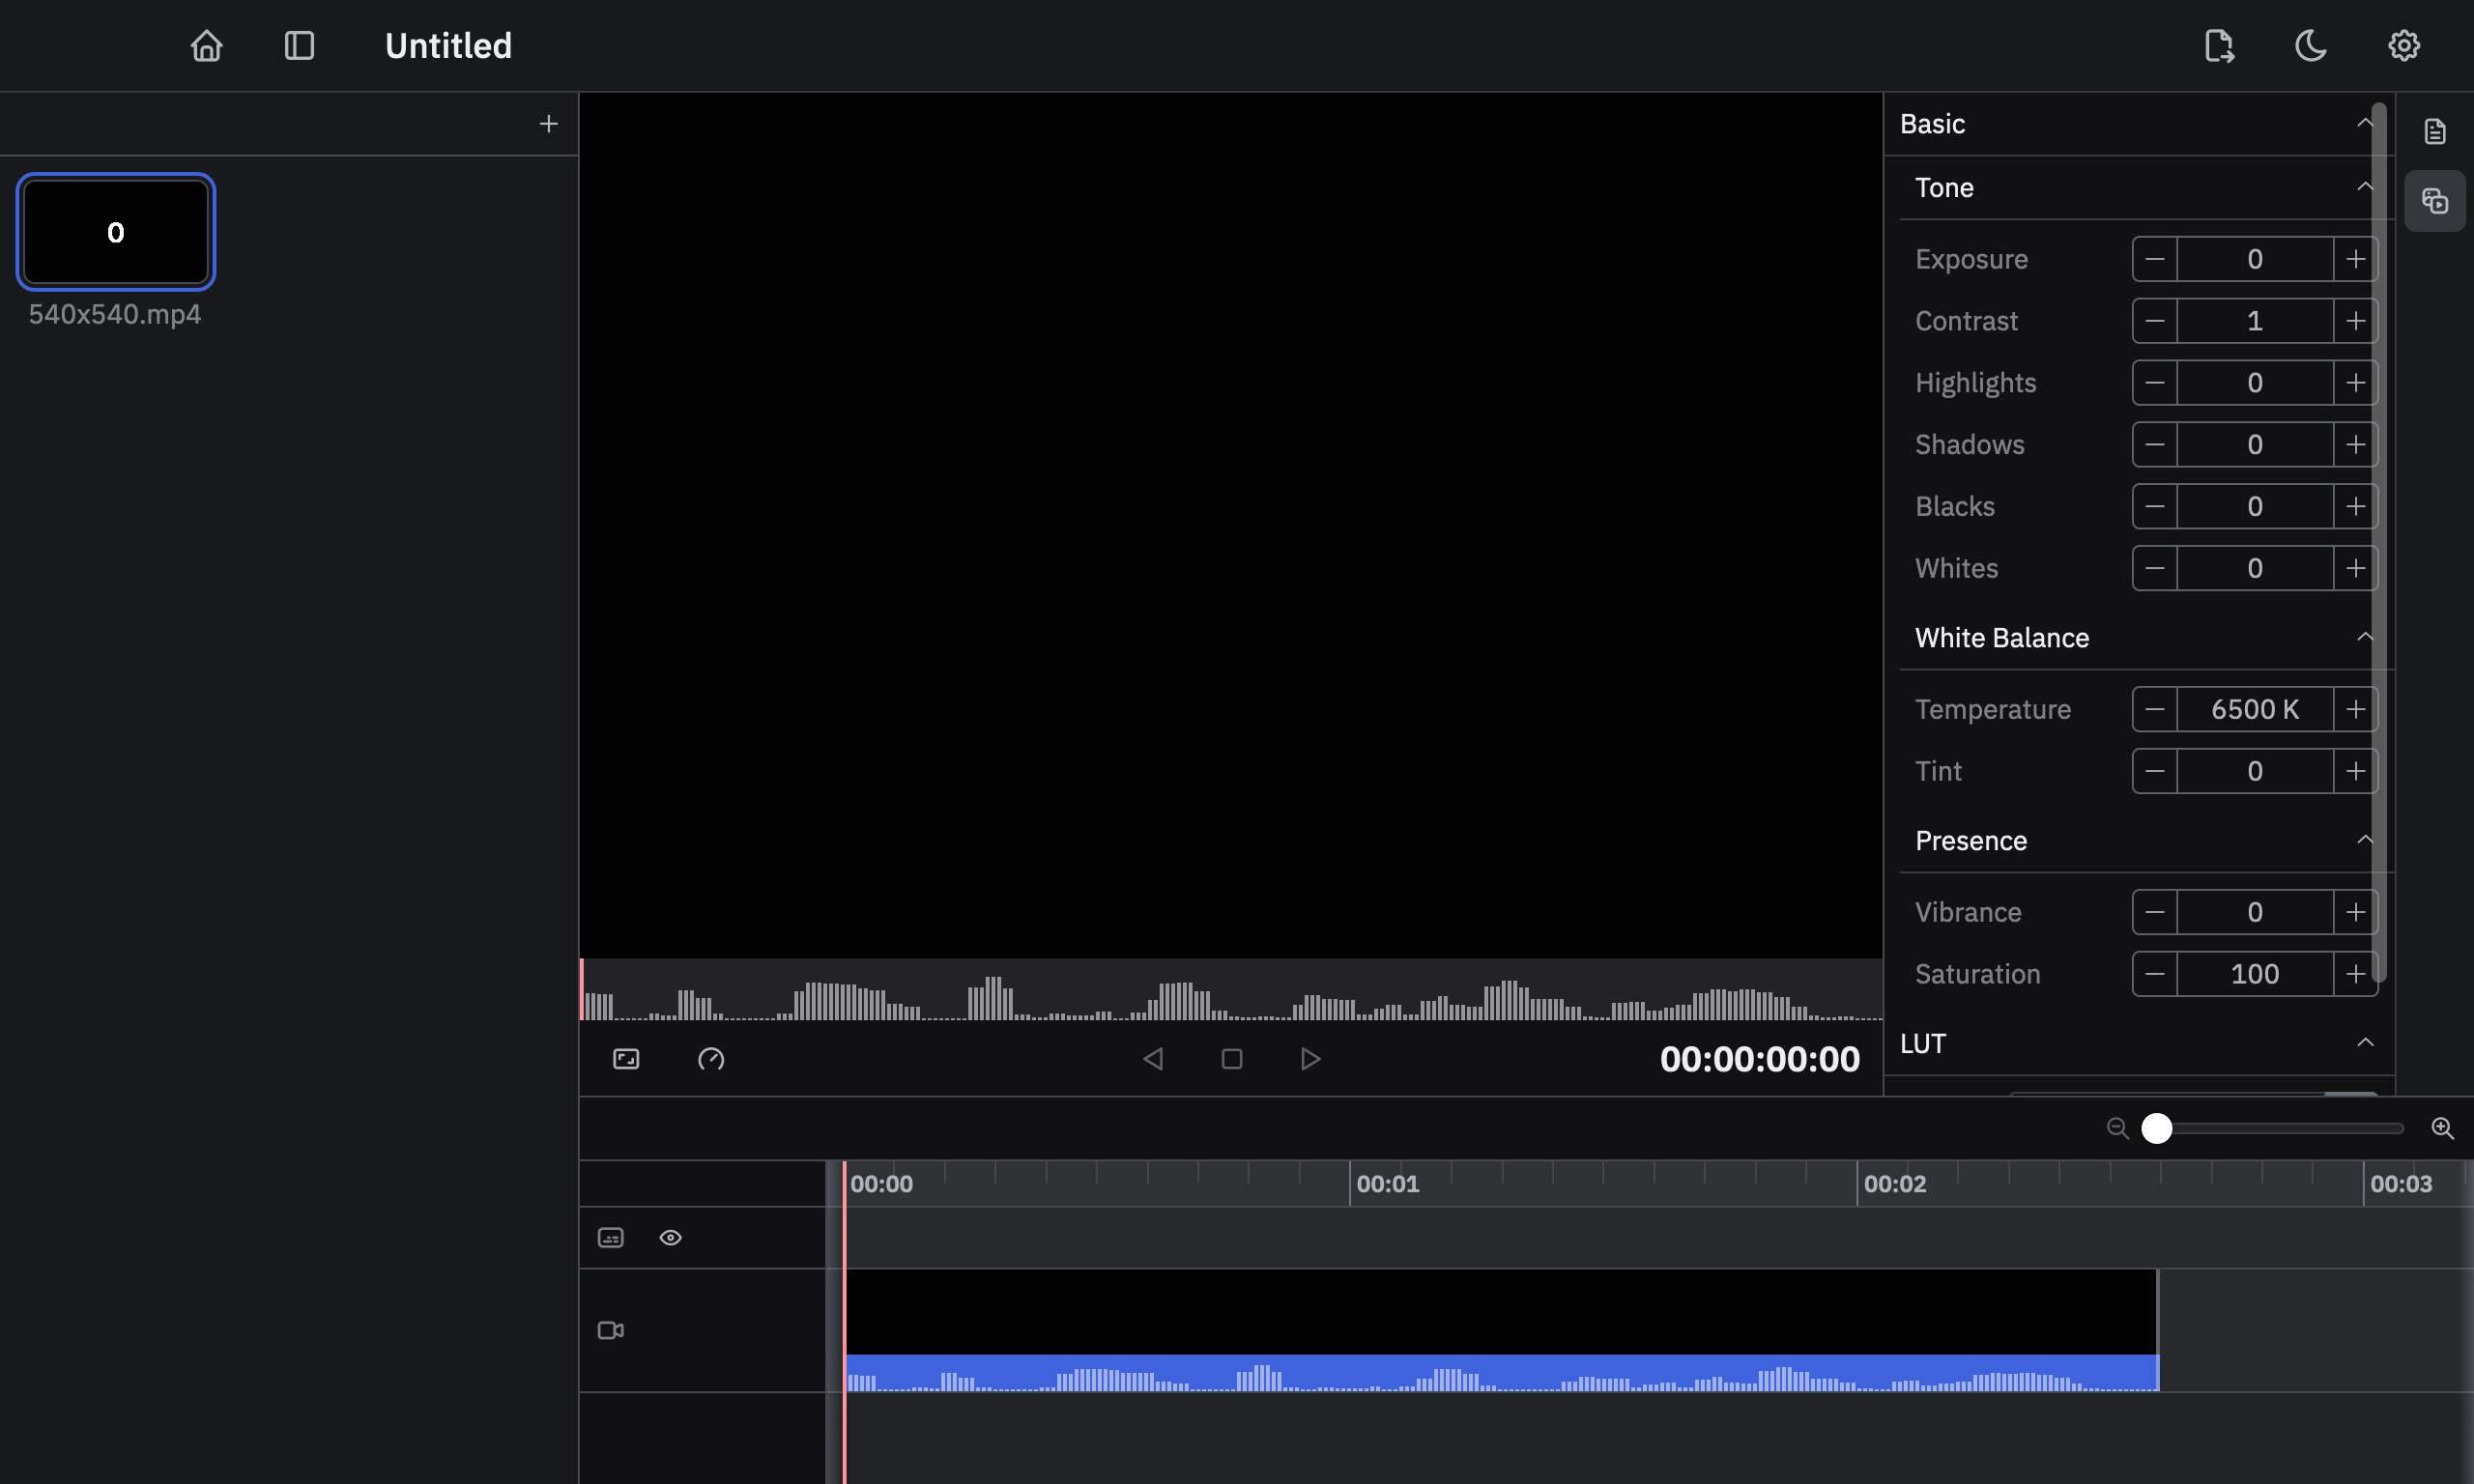
- Select a video clip and open its effects controls. Adjust exposure, contrast, white balance, vibrance, or saturation in small steps.
- To use a colour look, choose a LUT file in the effects panel. Play the affected section again before export.
Export or hand off the edit
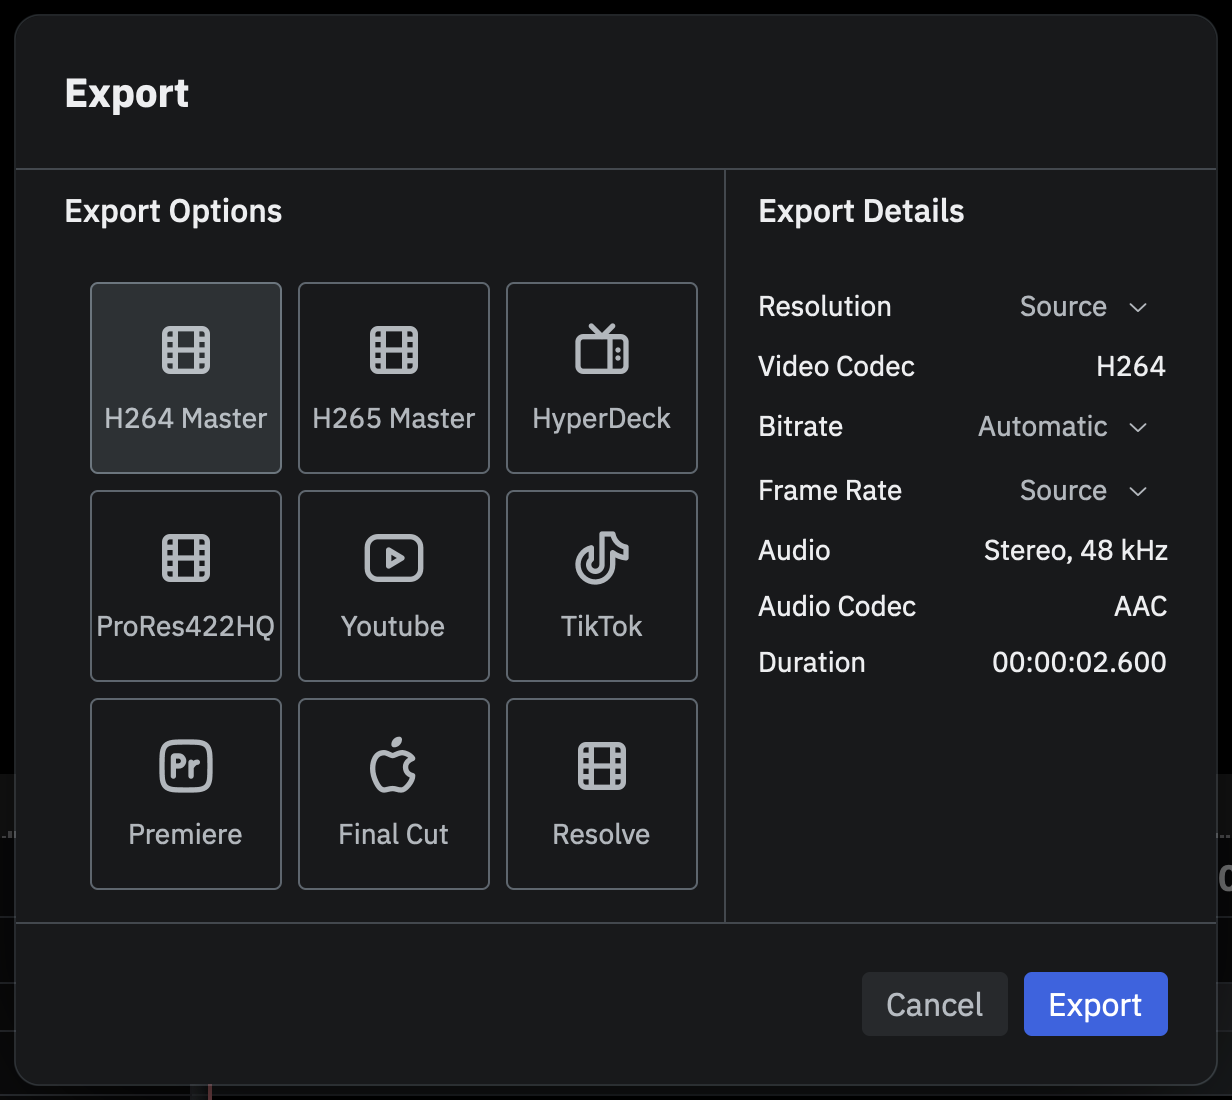
- Select Export in the project toolbar.
- Choose a video preset, such as H264 Master, or a timeline option for Premiere, Final Cut, or Resolve.
- Review the resolution, frame rate, codec, and audio details shown on the right.
- Select Export, choose where to save the result, and wait for it to finish.
Timeline files reference the original media, so keep those files available when opening the edit in another application. See supported formats for export details.